MicParts Logo Badge
We are able to sell these badges to existing MicParts capsule/circuit customers only, or within an order containing other MicParts capsule/circuit products. Non-qualifying badge orders will be refunded.
Embossed, antiqued brass logo badge with self-adhesive backing. These measure approximately 0.5'' on a side.
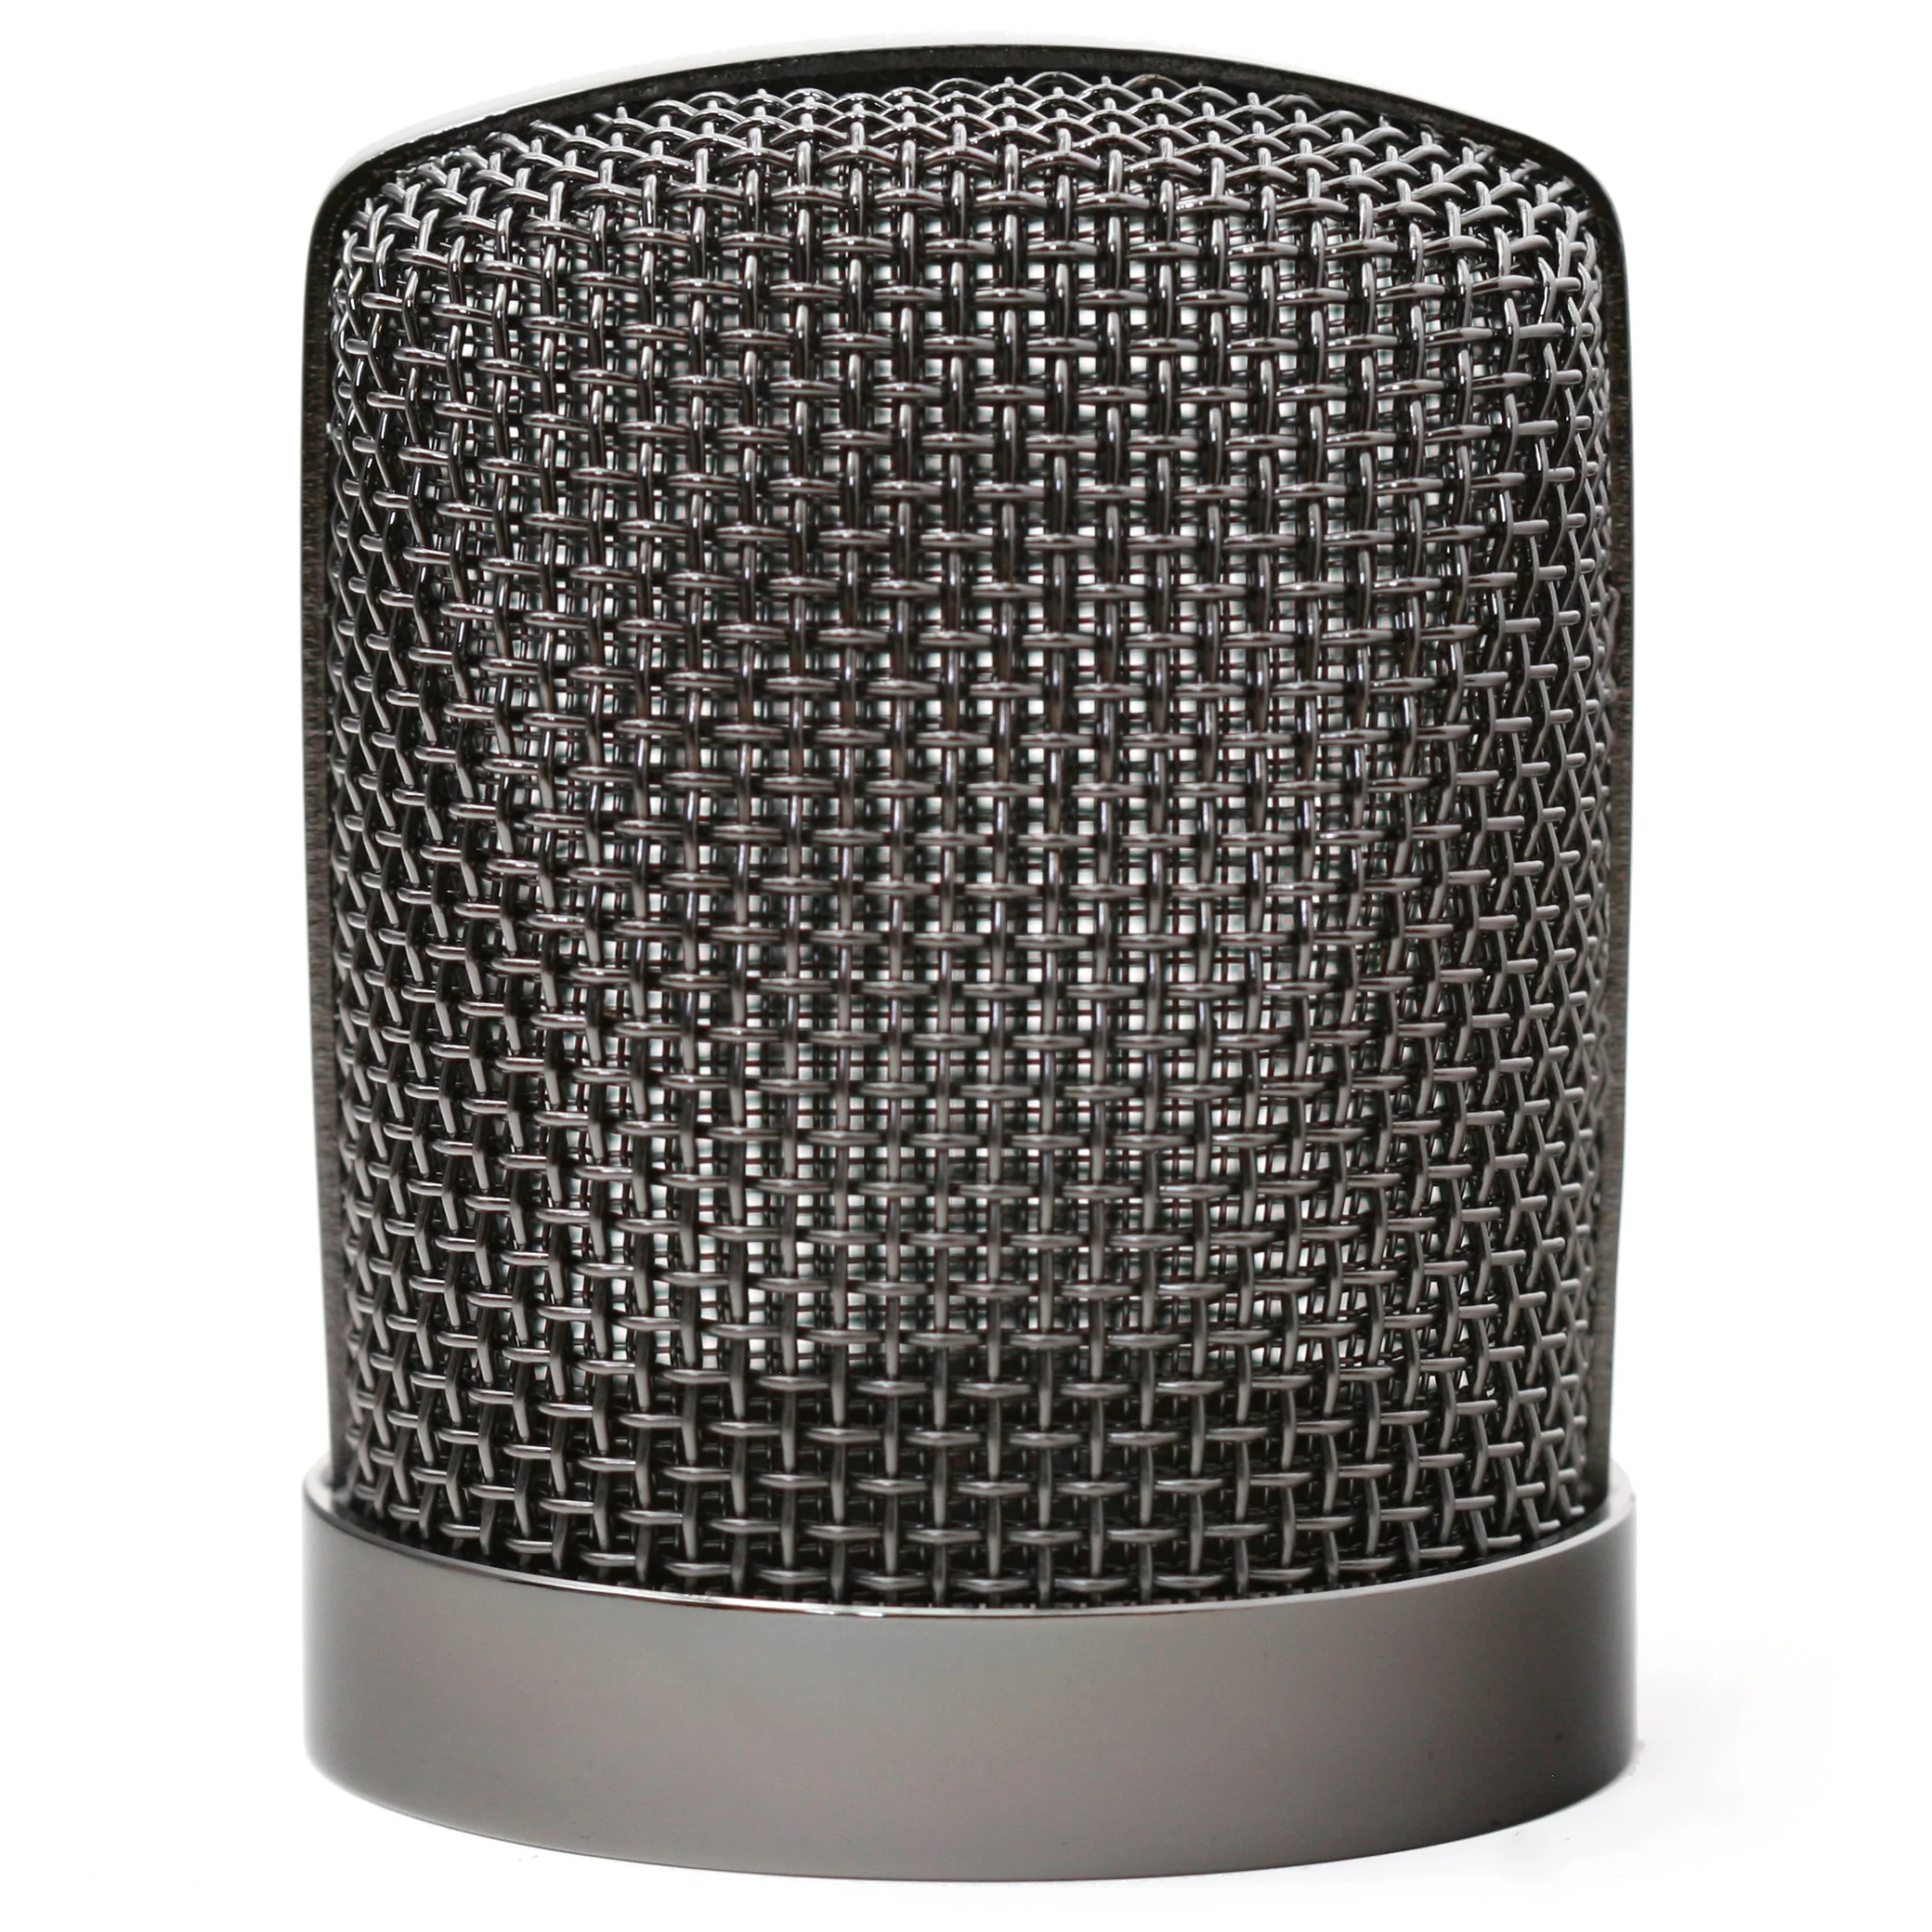
The badges are pre-formed to fit a cylinder 45-50mm in diameter. In practice, we've used them on bodies ranging from 42mm to 60mm with good adhesion. (We do not recommend these for 20-22mm pencil mics.)
To install these:
- Mark the centerline of your mic body with blue masking tape, pencil, or Sharpie -- whatever you can remove later without harming the finish.
- Peel the backing off the badge.
- Align the badge carefully on the centerline of the mic body.
- Lay the badge gently, then check alignment again. If necessary, reposition the badge before applying pressure.
- Once the placement is correct, press the badge into the mic body with your thumbs for 30-60 seconds. The adhesive will fully cure over the next hour.
- Then remove the pencil line (with alcohol or an eraser), or Sharpie line (alcohol), or blue tape, taking care not to damage the mic's finish.
Original: $5.00
-70%$5.00
$1.50Product Information
Product Information
Shipping & Returns
Shipping & Returns
Description
We are able to sell these badges to existing MicParts capsule/circuit customers only, or within an order containing other MicParts capsule/circuit products. Non-qualifying badge orders will be refunded.
Embossed, antiqued brass logo badge with self-adhesive backing. These measure approximately 0.5'' on a side.
The badges are pre-formed to fit a cylinder 45-50mm in diameter. In practice, we've used them on bodies ranging from 42mm to 60mm with good adhesion. (We do not recommend these for 20-22mm pencil mics.)
To install these:
- Mark the centerline of your mic body with blue masking tape, pencil, or Sharpie -- whatever you can remove later without harming the finish.
- Peel the backing off the badge.
- Align the badge carefully on the centerline of the mic body.
- Lay the badge gently, then check alignment again. If necessary, reposition the badge before applying pressure.
- Once the placement is correct, press the badge into the mic body with your thumbs for 30-60 seconds. The adhesive will fully cure over the next hour.
- Then remove the pencil line (with alcohol or an eraser), or Sharpie line (alcohol), or blue tape, taking care not to damage the mic's finish.